Should I Paint That? Tile
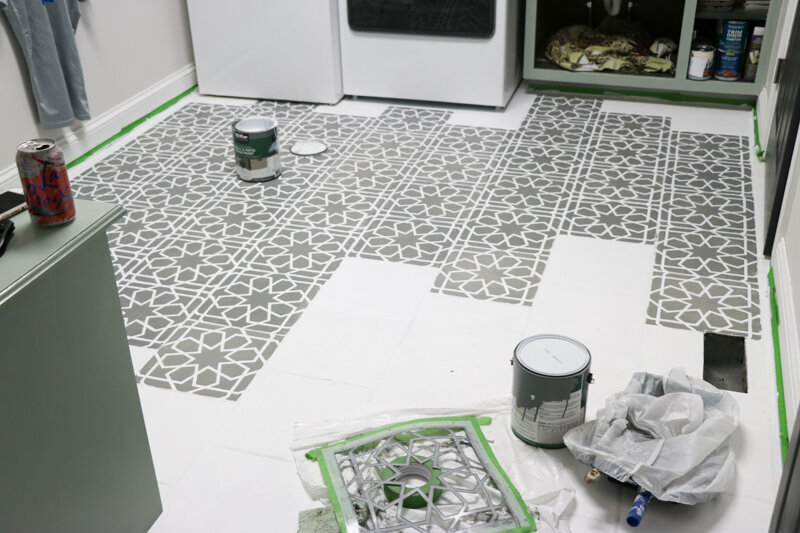
The process of removing and installing new tile during a home remodel, renovation, or revamp, can be downright grueling. Tile is the kind of stuff that’s built to last, and making a change to it involves a lot of time and effort. No one wants to spend hours chipping away at existing tile and leveling out the surface underneath just to embark on the delicate and difficult venture of carefully installing the new stuff. There is another option, however, and it might sound a little crazy, but it could save you not only time but a fair amount of money. Paint it!
Now, painting tile isn’t the same as just throwing a coat of paint on your walls. If you don’t follow the steps properly and take the time to prepare the tile well, your paint could end up peeling off in just a few months. Additionally, it’s not necessarily smart to paint all tile. Paint on tile that is in areas where it will deal with a lot of moisture, like showers or backsplashes, will probably not hold up for the long term. Excessive moisture on painted tile can cause chipping and peeling in a shorter amount of time than otherwise. Additionally, painting tile flooring in high traffic areas can result in early wearing out of the paint, like fading and scuffing. If, however, you think that you might want to explore painting your existing tile rather than trying to replace it, read on for some tips on how it’s done.
First, clean the surface thoroughly. This is crucial for areas like bathrooms where dirt can accumulate. Scrub the tile and ensure the grout is also clean. For tough dirt, use TSP (trisodium phosphate), but remember to wear protective gear because it can irritate skin and lungs.
After cleaning, fix any chips or cracks with a two-part epoxy, making sure these repairs are level with the tile for a smooth look. Then, lightly sand the tile with fine grit sandpaper (400 grit or higher) to create a rough surface for the primer to stick to. You don’t want to remove all the glaze, just enough to allow for good paint adhesion. Finally, clean the surface again to remove any dust or grit.
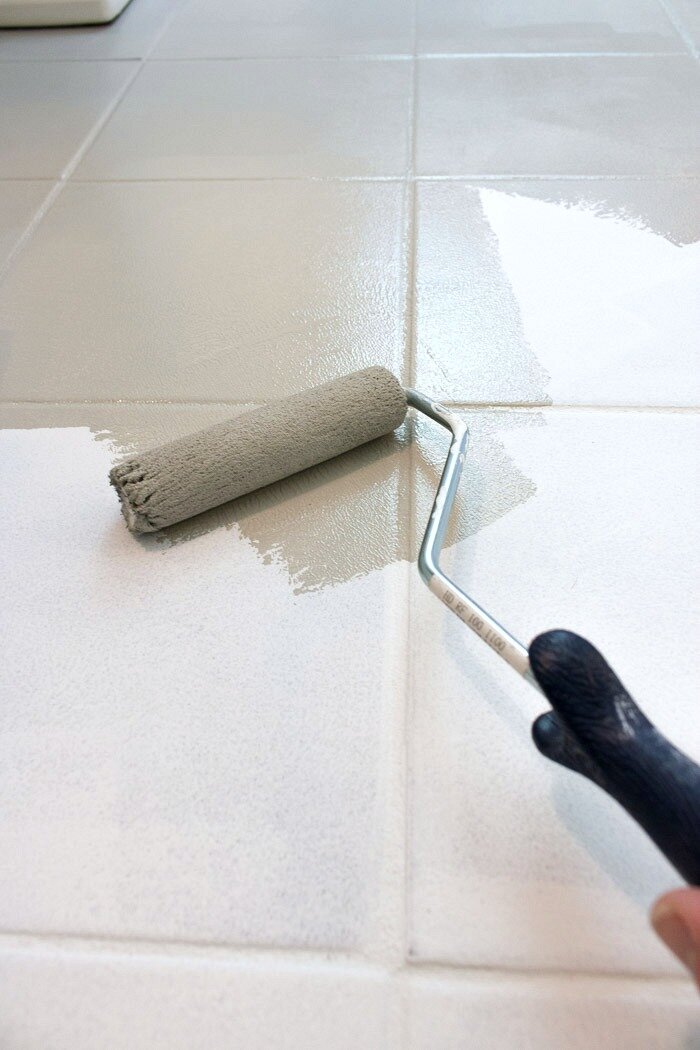
The next step is to apply a coat of primer. Choose an epoxy bonding primer for glossy surfaces. This choice is crucial; if it doesn't stick to the tile, it will peel off quickly. After the primer, use high-gloss latex paint, applying two coats for the best results.
Finally, while paint and primer may be enough, it's recommended to seal your paint with two or three coats of a clear, water-based urethane sealer. This ensures your paint lasts longer and withstands wear and tear.
Painting tile is a little more involved than your average paint job, and it might not be the right solution for everyone or every space, but it is definitely an option when you’re looking to make a change. For tips on another tricky task read more at Should I Paint That: Countertops. If you’re interested in starting a new paint project but don’t feel up to the task yourself, the experts at PaintPositive know just how to help you. Contact us today for a free quote on painting just about anything inside or outside your home or business!


